Showing posts with label hubby. Show all posts

Friday, February 14, 2014

Love my Valentine

Excited to celebrate our first holiday in Texas...

My Valentine is my favorite guy in the whole world


Love so many things about him


He's funny


He's super smart


An awesome daddy


A fabulous hubby


and an awesome Valentine!


Happy Valentine's Day to my main squeeze, excited to see where the future takes us!

Saturday, August 24, 2013

Oh where have I been?

WOW, I totally checked out!  Lots going on around these parts.  First off, I am officially a senior!!   HELLO..that is fantastic.  I recently went part time at work and couldn't be happier.  All my days are filled with homework.  The work load for senior year is like WHOA...no joke.  After witnessing a meltdown by about 35 women in my Thursday night class, I was feeling pretty normal!!  Send your prayers this way, low stress and high success, may we get this done!! To get you by...here are a few of my recent favorite shots!


Have you ever seen a family sleep like this!?!? Hilarious!!!
 
Frantically tyring to meet my 11:59pm deadline...

Thursday, March 28, 2013

The GOAL

There are days when this life just becomes over whelming.
 
 When dropping my kid off at the neighbors, with her toothbrush, in the morning just so I can be at work a few minutes early makes me want to cry.
 
When trying to be mom at home and clap out and the park and teacher conferences and trying to be a great student at school and field work and trying to be an adult at work, and the gynecologist doctor, and some sort of a wife becomes completely absurd.
 
 When dumping out the same basket of clean clothes on my bed for the 15th day in a row to find my kid a clean outfit makes me want to throw it all out the window.
 
When watching my husband fall asleep at 9:00 on the couch because he is just totally worn out from working 12 hours a day six days a week before we have even had a chance to really speak makes me want to throw a fit.
 
When my chest feels so heavy at night because the weight of life is so very real.
 
 When I would rather scratch my eyeballs out than figure out how exactly I am going to fit in forty hours of work in seven days this week.

When I have an emotional breakdown because my mountain dew is not only diet but also caffeine free! {I mean REALLY what is the point}
 
 When I realize that I am asking my six year old for fashion advice.
 
  When I seriously contemplated downloading a Taylor Swift song 
 
When life just straight up brings you to your knees, there really is only one thing that makes it all worth it in the end.
 
  These people, my little family that we have worked so hard for.


Knowing that the end is near and the time I will have to spend with them will be priceless.


This little guy, knowing that I will soon have time to travel to wherever this life may take him.


It is what we all work for right?  


 For the love of our families.


So here’s to not losing my mind before May of 2014 and being able to keep my eyes from filling with too many tears before then.

{all photos taken by the lovely AmyE}
 
Crying in the corner signing "Something MORE!" 

Monday, January 21, 2013

how to Cabinet Doors

Although we did add a few new base cabinets, we kept the existing base cabinets in place.  No matter how we priced it, it never made sense to completely get rid of the cabinets. They were in perfect condition, we just don't do the CURVE top.  Fine, just not us.  

The doors had.to.go.

The question was what to replace the doors with.  As usual we priced out all types of options.  Ikea, online, home depot, you name it!  In the end we just couldn't resist a go at it ourselves.  I am so glad we did!  It is SO satisfying to know we made those bad boys!

It was actually pretty easy.  Once we got everything set up and a system in place.
   
First we removed all the old doors, bet you didn't see that one coming!

Each door was measured as we went.  

 
Then we cut each frame piece. 


Cut the corners. (Be sure that you are angling your corners in the same direction)
Collect all these tiny angles into a bucket for later use in your fire pit. 


Set up router


 Run each frame piece through the router (Make sure that you are routing the "inside" of the frame piece.  The routing allows for the insert, bead board in this case, to be placed inside the frame. When If you route through the outside of the piece, you obviously can NOT insert the bead board correctly.)


Once all of your frame pieces are cut, you can mock up each frame to insure your measurements are correct.  (You would NOT want to glue and nail pieces that were cut incorrectly.  Not that I would know.)


Now it is time to measure and cut your inserts.  Then sand it down.  It is easier to sand this piece around the edges BEFORE it is placed in the frame.  


Once you are sure that all your measurements are correct it is time to glue then nail.  


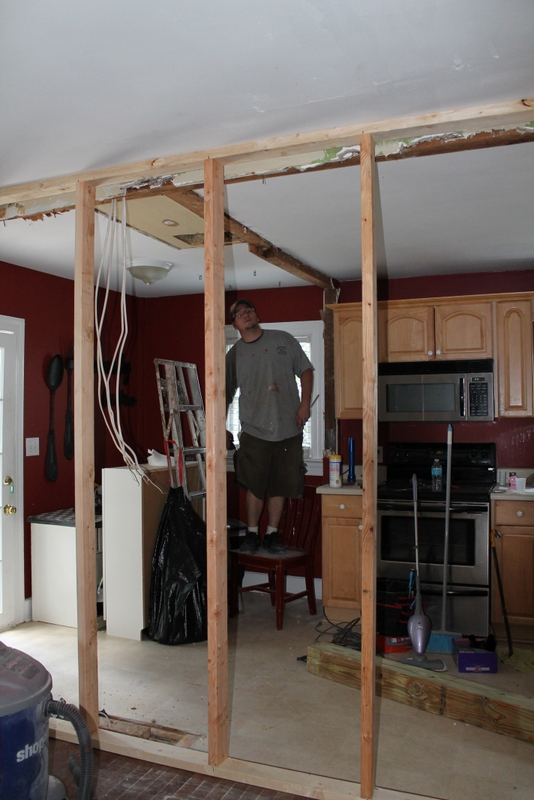
Take pictures of your work boots while your hubby works.

  
Collect all of your old doors in a big pile...for later use in the fire pit!


Next, we created a template for the hardware from our old cabinets.  

First drill a hole THROUGH the old cabinet hardware location.  Place the old door on top of the new door (make sure the new door is BACK up, just sayin) and clamp them together.  Drill through the old door, just slightly into the new door.  This way you can remove the old door and now you have a mark for where your new hole should be!


Next, drill the new hole!  (We found that the thickness of our drill bit was the right depth that we needed for the hardware.  So we would just drill until the drill bit was flush with the cabinet door.)


Place hardware!  (Note - There is A LOT of room for adjustment in the mounting hardware.  So when you put the new doors on the existing bases, DON'T melt down. They are not all wrong, just adjust.)

Now your doors are ready to paint!

A few notes...we placed all of our doors on the cabinets, adjusted the hardware, then removed them and painted the doors.  This eliminated taking on and off already painted doors. (you know to avoid scratches, we added those later!)  We underestimated the amount of time mounting the doors would take.  It takes A HOT minute, just FYI!  The doors turned out great and I would totally do it again!  We have 21 doors and we spent roughly $120 in lumber...take that Ikea!


Sunday, January 20, 2013

a little break

I took a little break from blogging.  Between school, the holidays, working and renovating our kitchen I was just a little OVER-IT!  Currently I am avoiding writing 22 paragraphs for school and I thought this would be the perfect time to update the blog.

We are ALMOST done with our kitchen...

Guys this things has almost BROKE.US.DOWN.  BUT we stuck with it and we could not be happier with the outcome.  We have come  a LONG way.  Here's a reminder of what all we have done:
  • Built kitchen table
  • Stripped wall paper in dining room
  • Took down the wall between the kitchen and the dining room
  • Removed door from the kitchen
  • Removed window from dining room
  • Installed sliding doors in place of window
  • Built bar and bar top
  • Took down existing cabinet doors
  • Built new cabinet doors
  • Built new extension to existing cabinets
  • Made the counter tops
  • Replaced the sink faucet
  • A little ceiling work
  • Replaced trim around kitchen windows
  • Painted
  • Installed new hardware
What we still have left to do:
  • Flooring - no idea
  • Back splash - 2x4 white subway tiles
  • Finish Painting -
  • Light fixtures - school house lights
I have TONS of pictures that I hope I can manage to share with you but here's a first look at where we started and a sneak at where we are now!


That's all you get for now.  Come back later this week to see the rest!

Back to homework, 1 paragraph down 21 left to go!


Tuesday, July 31, 2012

Opening UP

Our kitchen and dining room project is coming along nicely.  The hubs busted out a ton of work this weekend.  I mainly just went behind him and cleaned and provided moral support, two things I happen to excel at!

As a reminder here is the before


Progress


That's plaster over wire mesh up there!


There used to be a window here to the old porch, that is now a part of our kitchen


See all of that board, that's what is underneath our siding...this used to be an exterior wall for the porch.  NOT fun to remove as those boards go all the way to our roof and all the way through to the basement.


Temporary wall, repairing beams and ceilings


New column


We are closing in this door to make room for an island


The plan for getting onto the deck, french doors or sliding doors where the window is now.


That's a wrap! For the weekend anyways!


Wednesday, July 25, 2012

Farm TABLE

I have been DROOLING over farm tables all over everywhere for the loooongest.  I just could never drop the mullah required to have one of these beauties reside in my house.  ENTER ana-white.  Once again we found an awesome plan that we were able to easily modify for our needs.


It came together pretty easily!  The hardest part was moving it ALL the way to the dining room...WOW it is heavy!


Sometime last year we scored this really awesome table base at a yard sale.  It is the base from an industrial sewing table!! LOVE it.


We went with a lighter color to help the base really stand out.  I could NOT be happier with the color and the finish.  It goes perfect with our chairs that we also purchased last year.


First coat - Glidden Natural Linen
Stain - MinWax Classic Gray 270  (one person brushes while the other wipes it right off)
A little sanding for some aging
Several Coats of MinWax - Polycrylic, satin finish (sand between each coat)


PERFECT farm table if you ask me!


See that wall and that WALL paper...one is down and the other will be soon!!!

Check back tomorrow to see more progress!
Subscribe to RSS Instagram Follow me on Twitter Follow me on Pinterest Join me on Facebook